

Spring is the perfect time for a fresh start—so why not give your old, forgotten items a new life? Instead of tossing out those random bits and pieces cluttering your home, turn them into something beautiful!
Upcycling isn’t just great for the planet—it’s also a creative, budget-friendly way to refresh your space with unique, handmade décor.
From charming garden markers made with mason jar lids to elegant butterfly decorations crafted from vintage wallpaper, these DIY projects prove that sustainability can be stylish.
So, grab those old magazines, plastic lids, and forgotten craft supplies—it’s time to get creative and welcome spring with a touch of eco-friendly magic!
1. Wood Butterfly Decor for Spring

Got some old wooden scraps lying around? Instead of tossing them, turn them into charming butterfly decorations that bring a touch of spring into your home or garden. Start by tracing butterfly shapes onto the wood and cutting them out with a jigsaw (or using pre-cut wooden pieces if you have them).
CLICK HERE to learn more!
2. Recycled Plastic Lid Windchime
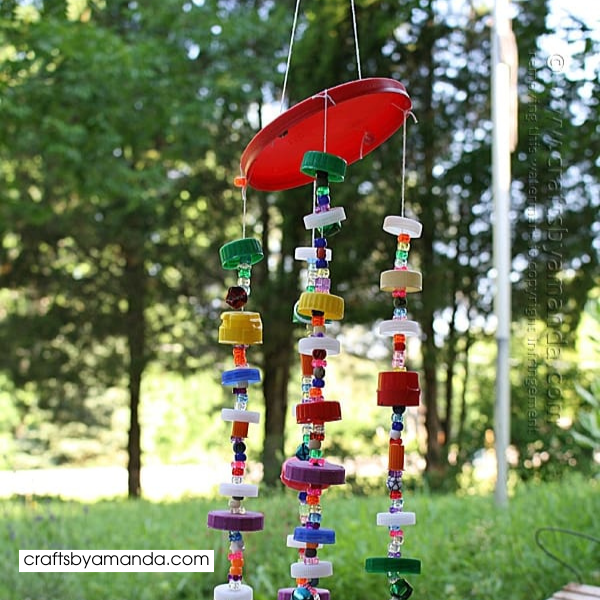
Before you toss those plastic lids from milk jugs, coffee cans, or takeout containers, consider transforming them into a colorful, music-making windchime. To start, gather different-sized lids and paint them in vibrant spring colors using acrylic paint or spray paint.
CLICK HERE to learn more!
3. Garden Markers with Mason Jar Lids

Tired of forgetting where you planted your herbs and flowers? Give old mason jar lids a second life as rustic garden markers. Start by painting the lids with chalkboard paint, pastel acrylics, or simply leaving them as-is for a more industrial look.
Then, use a permanent marker, paint pen, or chalk to write the names of your plants. You can also get creative by stamping or engraving the names into the metal for a weather-resistant finish.
CLICK HERE to learn more!
4. Butterfly Decorations Using Vintage Wallpaper

If you’ve got scraps of vintage wallpaper, wrapping paper, or old book pages, you’re already halfway to creating stunning butterfly decorations. Start by cutting out butterfly shapes in different sizes, using a template if needed.
To make them look more realistic, gently fold the wings upward to create a 3D effect. You can also layer different patterns for a more textured, artistic look.
CLICK HERE to learn more!
5. DIY Alcohol Ink Easter Eggs

Forget buying plastic Easter decorations—why not upcycle old ceramic, wooden, or plastic eggs into beautiful, marbled Easter eggs? Alcohol inks create stunning, one-of-a-kind swirls that mimic the look of high-end painted ceramics. Simply drop different ink colors onto the eggs, then use a straw or compressed air to blend them into mesmerizing patterns.
CLICK HERE to learn more!
6. Coiled Magazine Page Round Coasters

Those stacks of old magazines and newspapers can be transformed into chic and colorful coasters. To start, cut magazine pages into long strips and tightly roll them into coils, adding glue as you go to keep them secure. Once you’ve reached your desired coaster size, coat them in Mod Podge or a clear acrylic sealer to make them water-resistant.
CLICK HERE to learn more!
7. DIY Recycled Card Garland for Spring
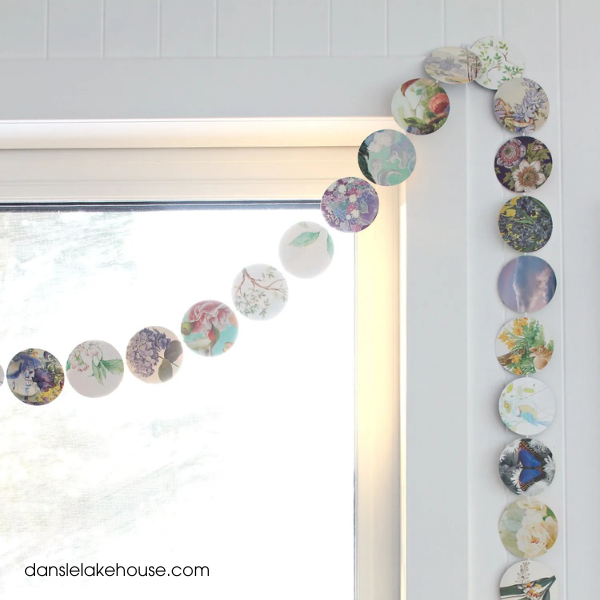
Got a pile of old greeting cards? Instead of throwing them away, turn them into a charming spring garland. Cut out festive shapes—flowers, bunnies, butterflies—using stencils or freehand designs. Punch holes in each piece and string them together with ribbon or twine.
CLICK HERE to learn more!
8. Easy DIY Easter Egg Tree
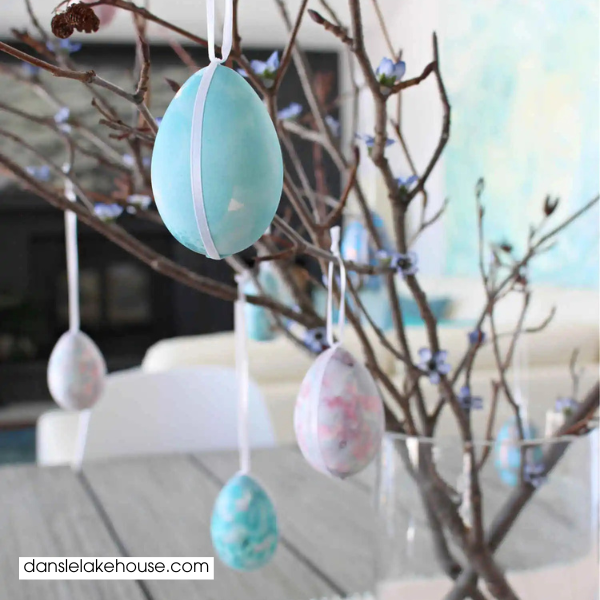
For a simple but stunning centerpiece, gather fallen branches from your yard and place them in a vase or jar. Then, upcycle plastic or wooden eggs by painting, decoupaging, or adding glitter. Tie a ribbon through the top of each egg and hang them from the branches.
CLICK HERE to learn more!
9. Decoupage Flower Pots with Pretty Napkins

Plain flower pots can get a spring-ready makeover with just a few floral napkins and some Mod Podge. Simply cut out the patterns you like, apply a layer of glue to the pot, and smooth the napkin pieces over it. Finish with another layer of Mod Podge to seal it.
CLICK HERE to learn more!
10. Button Bouquet – in a Salt & Pepper Shaker

Don’t throw out those mismatched buttons or extra salt and pepper shakers just yet! Create a mini spring bouquet by threading buttons onto floral wire and arranging them in a vintage shaker. The result? A quirky, colorful centerpiece that never wilts!
CLICK HERE to learn more!
Final Thoughts
Spring is all about new beginnings, and what better way to celebrate the season than by giving new life to forgotten materials?
These 10 upcycled spring crafts prove that a little creativity can turn everyday “trash” into charming, eco-friendly treasures.
Whether you’re decorating your home, sprucing up your garden, or crafting for fun, each of these projects lets you reduce waste, save money, and embrace sustainability—all while adding a unique, personal touch to your space.
Next time you’re about to toss an old jar lid, scrap of paper, or mismatched button, pause for a moment and think: Can I turn this into something beautiful?
Chances are, the answer is yes! So grab your craft supplies, breathe in that fresh spring air, and start transforming the ordinary into something extraordinary
